How to Install Wainscoting for Classic Wall Detail
Living spaces evolve with the people who inhabit them. Install Wainscoting for Classic Wall Detail adapts your environment to current needs rather than accepting inadequate layouts. Thoughtful changes make rooms feel larger, brighter, and more welcoming. Assess your current situation honestly, identifying specific problems you want to solve. Prioritize projects based on budget, time available, and impact on daily life. Create detailed plans including material lists and step-by-step procedures. Gather all necessary tools and supplies before beginning; interruptions for missing items derail momentum and extend timelines. Consider hiring professionals for specialized tasks beyond your skill level. Begin with thorough planning, measuring carefully and considering how the space will be used. Research materials and techniques, understanding both the process and potential pitfalls.
Planning and Design
Space Assessment
Thorough planning prevents costly mistakes in Install Wainscoting for Classic Wall Detail. Measure accurately, recording dimensions in multiple locations. Consider traffic patterns and how changes affect movement through the space. Evaluate existing conditions, noting structural elements, electrical locations, and plumbing. Research building codes and permit requirements for your project type. Create detailed drawings or use design software to visualize changes. Establish a realistic budget including materials, tools, and professional help if needed. Build in contingency funds for unexpected issues. Good planning eliminates surprises during construction.
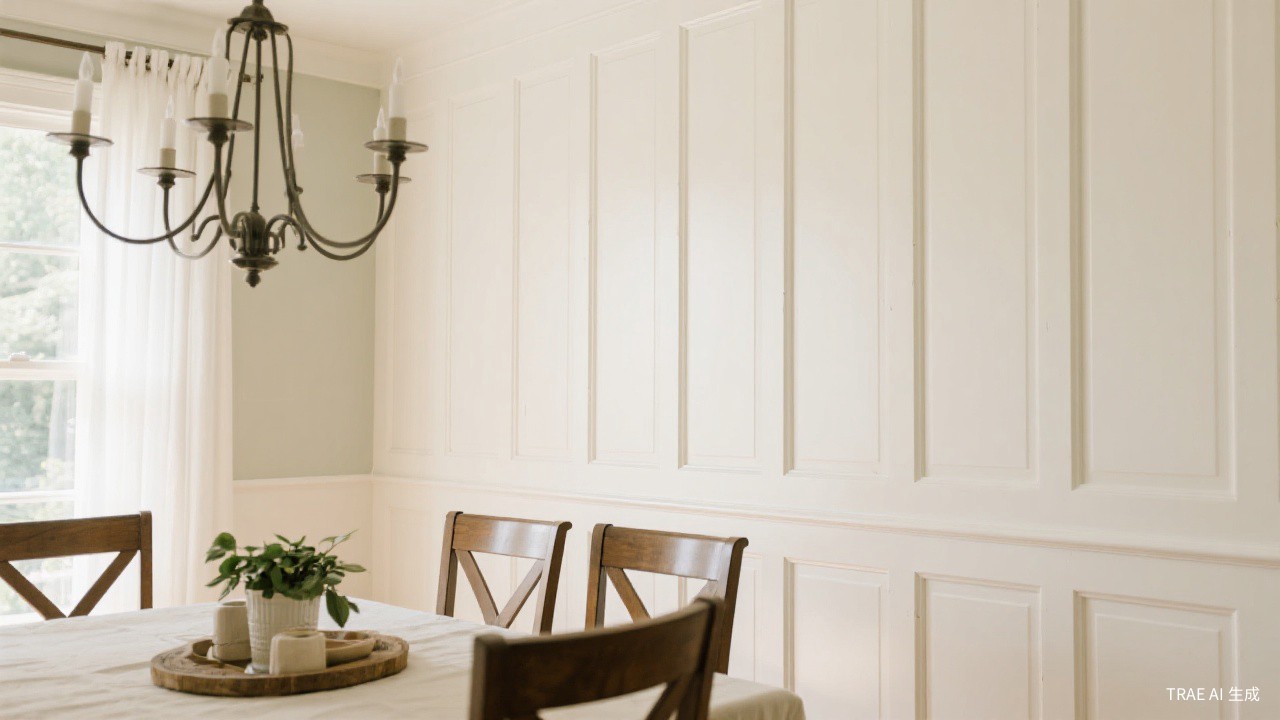
Style Integration
Install Wainscoting for Classic Wall Detail should balance with your home's existing character. Study architectural details that define your space's style. Choose materials and finishes that complement rather than clash with established aesthetics. Consider resale value when making permanent changes; overly personalized choices limit future buyers. Create mood boards with colors, textures, and inspiration images. Visit showrooms and model homes for ideas. Balance current trends with timeless elements that will not quickly date your work. Cohesive design creates spaces that feel intentional and complete.
Budget Planning
Realistic budgeting ensures Install Wainscoting for Classic Wall Detail completion without financial stress. Research material costs thoroughly, including delivery fees and taxes. Account for tool purchases or rentals needed for the project. Include permit costs and professional consultation fees if applicable. Build in twenty percent contingency for unexpected issues. Prioritize spending on elements that affect function and durability over purely decorative items. Track expenses during the project to avoid overruns. Sometimes phasing work over time allows better quality within budget constraints.
Finishing Details
Trim and Transitions
Professional finishing distinguishes amateur from expert Install Wainscoting for Classic Wall Detail. Install trim pieces to cover gaps and raw edges. Caulk seams between different materials for smooth appearance. Touch up paint or finish where installation caused damage. Install hardware carefully, ensuring proper alignment and function. Clean all surfaces thoroughly, removing construction dust and fingerprints. Add protective pads to furniture that might scratch new finishes. Update switch plates, outlet covers, and vent registers to match new aesthetics. Details make the difference between acceptable and exceptional results.
Final Inspection
Critical assessment ensures Install Wainscoting for Classic Wall Detail meets your standards. Create punch lists of items needing attention. Test all functions: doors, drawers, switches, and fixtures. Check for visible fasteners, gaps, or imperfections. Verify that finishes are even and complete. Clean thoroughly, removing all construction debris. Photograph completed work for records and insurance purposes. Schedule any necessary inspections if permits were required. Enjoy your improved space, knowing the effort invested created lasting value. Final inspection marks the transition from construction to enjoyment.
Decorative Elements
Personal touches complete Install Wainscoting for Classic Wall Detail with character and warmth. Add artwork, plants, or accessories that reflect your personality. Consider lighting that creates desired ambiance for different times of day. Textiles like curtains, rugs, and pillows add softness and color. Display collections or meaningful objects that tell your story. Layer lighting sources for flexibility and interest. Edit ruthlessly; too many decorative items create visual clutter. The best spaces balance function with personal expression.
Installation Process
Preparation Steps
Proper preparation ensures Install Wainscoting for Classic Wall Detail proceeds smoothly. Clear the work area completely, protecting items that remain. Cover floors and furniture with drop cloths or plastic sheeting. Shut off electricity or water as needed for safety. Remove old materials carefully, disposing of debris properly. Repair underlying structures before installing new finishes. Prime surfaces that will receive paint or other finishes. Gather all tools and materials within easy reach. Review instructions one final time before beginning active work. Preparation time is never wasted time.
Execution Techniques
Quality installation requires patience and precision. Work systematically from one end to the other. Check level and plumb frequently, correcting deviations immediately. Use appropriate fasteners and adhesives for your specific materials. Allow adequate curing time before stressing joints or finishes. Clean as you go, preventing buildup of dust and debris. Address problems immediately rather than hoping they will not be noticed. Take breaks to maintain focus and avoid fatigue-induced errors. Step back regularly to assess overall appearance and alignment. Methodical work produces professional results.
Safety Protocols
Safety must guide every aspect of Install Wainscoting for Classic Wall Detail work. Wear appropriate protective equipment for each task. Maintain three points of contact when working on ladders. Keep work areas well-lit and free of tripping hazards. Use tools only for their intended purposes. Keep first aid supplies accessible. Know when to stop; fatigue leads to accidents. Ensure adequate ventilation when working with fumes or dust. Secure workpieces properly before cutting or drilling. No project is worth injury; take time to work safely.